
I’m old enough to remember the early days of cloud storage.
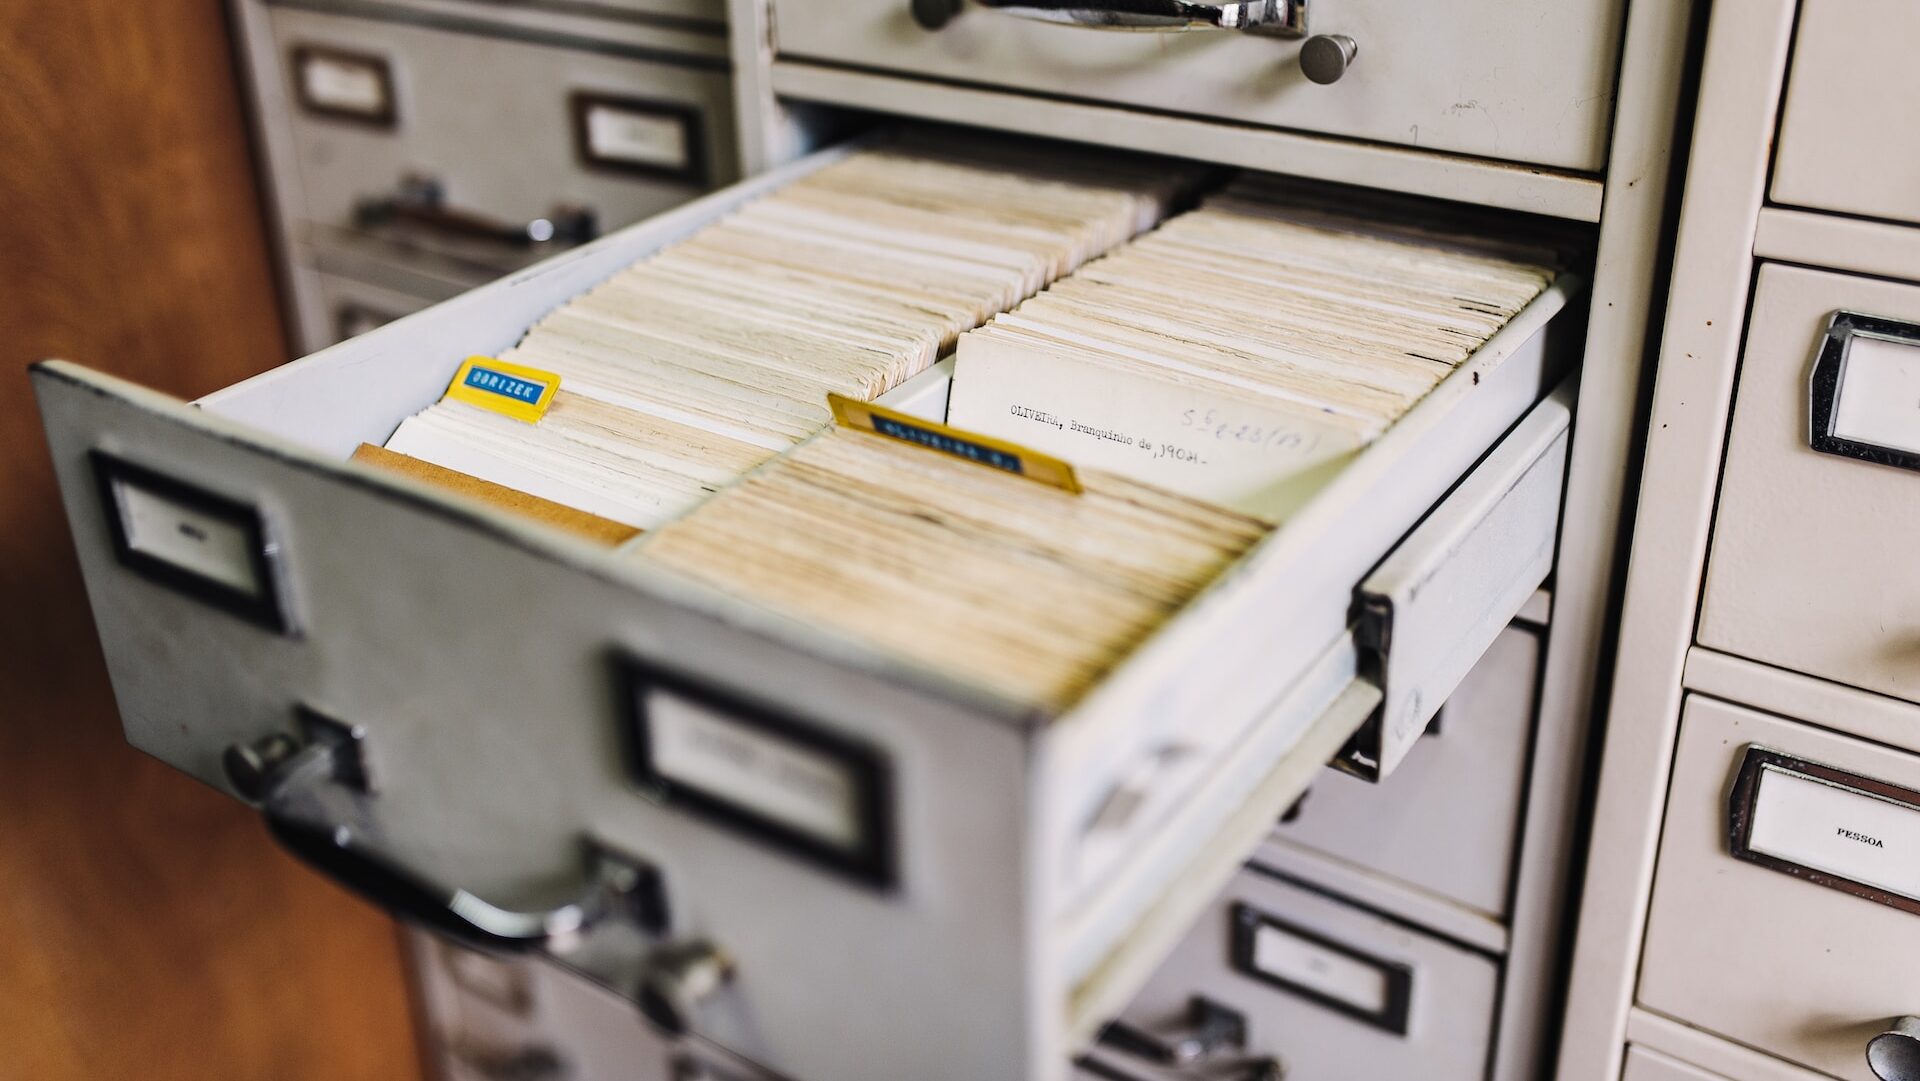
As a technology trainer, I used to tell people that it was like having a filing cabinet that you could access anywhere you wanted and on any device you felt like using.
Then, I realized the error of my ways.
Every physical filing cabinet I had ever used had files that were neatly labeled and meticulously organized with the aid of those ubiquitous green file folders. Unfortunately, somewhere along the way, we lost some of that organizational structure when we started using cloud storage.
However, help is at hand.
How to Organize Google Drive
If your Google Drive is getting out of hand, relax. You’re not alone. I will show you how to fix that by using the same GTD methodology that I use with Google Tasks.
The five-step process to “Capture, Clarify, Organize, Review, and Engage” works well for Google Drive. Here’s how it works.
1. Capture
The first step is simple. Get it all in one place.
Now, you might be thinking that you already have everything in one place (and maybe you do), but I am going to encourage you to take just a little bit of time to do a self-audit and consider all the possible locations of the files that you use.
You can’t have an effective organizational structure for your digital files until you have all of your files together.
Do you have a Dropbox account or a OneDrive account? If so, consider moving all those files to Google Drive. Splitting your files between multiple services isn’t a great strategy for finding what you need.
Another place to look would be the hard drive of your computer. Do you have things in your Documents folder? If so, you can upload those files to Google Drive too.
Lastly, think about hard copies of documents that you might still use. Do you have paper copies of things that were never digitized? If so, now might be a good time to scan them and move them to the cloud as well. There are many great scanner apps for iOS or Android that will let you do this for free.

2. Clarify
The goal here is to reduce the number of files you have. If you take a little bit of time doing some digital dusting now, it will save you time in the long run. Delete files that you no longer need so you have less to work with when you start moving things into files and folders.
Next, it’s time to create your ideal file structure. You probably already have some organizational structure, but it’s perhaps not as it could be. In a perfect world, ask yourself what your Google Drive looks like.
Many people find value in sketching this out on a piece of paper or using a mind-mapping tool to create a flow chart of the folders you need and how they will be organized. The finished product will include top-level folders and multiple layers of sub-folders.
While making your file tree structure, consider adding an “Archive” folder that has subfolders sorted by years. This is a helpful place for filing tax returns, receipts, and other time-sensitive documents.

3. Organize
Now that your file structure is mapped out, it’s time to bring it to life. At this point, it’s important to recognize that you may already have some of the folders you need in your Google Drive. That’s fine. Leave them where they are for now and create the additional folders that you need. Start with the top-level folders, and then go deeper to make all the sub-folders.
Tips for Creating Folders in Google Drive
- To make your new folders easier to find, you can put a period or a zero in front of the folder name. This will automatically surface them to the top of your file structure in the sidebar because Google sorts those folders in alphabetical order.
- You can also right-click on any folder and select a color for it. This is an excellent way to visually tag folders and help you find the ones you are looking for.
- Some people even add emojis to the folder name for some added personality. You can do that quickly from a mobile device or using the emoji keyboard on a laptop, (Windows key + period on a PC or Cmd + Opt + Space on a Mac).
When you create your folders, try to think of a clear naming convention that accurately describes the folder’s content and can be used consistently across your Google Drive.
You need to know exactly where your files are located, so don’t make them ambiguous or repeat folder names across your system. If you do, it will quickly get confusing and cost you time as you dig through multiple folders looking for the file you need.
Moving Files and Folders in Google Drive
For tips on how to move files and folders in Google Drive, watch this video:
4. Review
The hard work is done. You created a plan and executed it with precision. However, is it everything you hoped it would be?
I mean, it might be, but a successful system is something that you will only be able to measure over time. That’s why step four of this process is to review, and this is a step that I would encourage you to do regularly.
When you made your mind map of where everything will live in your Google Drive, it was a one-time deal. You took stock of what you had and you made a plan for where it should all live.
When you review, it is an ongoing process. You need to continue to challenge yourself and ask yourself whether this system still works for you or not.
Of course, the only real way to know if this new system is working for you is to use it. As you begin to work within this new organizational system you created, you may well find that you want to make some changes.
What kind of changes? Well, maybe you will want to merge some folders, rename some folders, or add more sub-folders. I’m not talking about re-mapping your entire file structure, just looking for areas where it can be refined or optimized.

5. Engage
The final step in this process is to engage with your system. Sounds simple, right? Just use it! Well, yes and no, because an important thing to consider is that your system will grow over time.
You will start new projects, add content, and join new teams. These things will need new documents, and these new documents will need a space to live inside your Google Drive. Your folders may already exist for that, but will you remember to use them?
For this new system to last, you have to embrace it. New files have to live in the new system; otherwise, chaos will descend once more. If you weren’t good at this before, you have to turn over a new leaf and develop a new habit of digital organization.
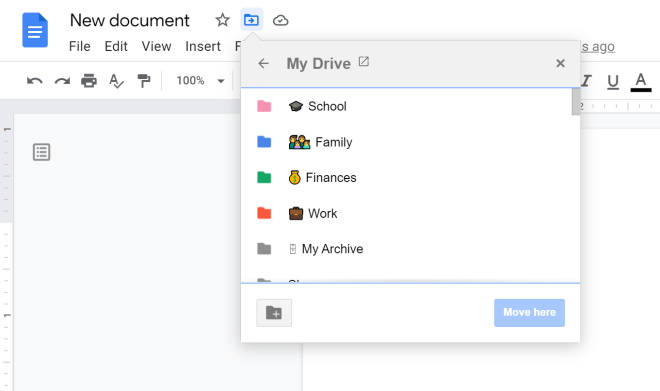
If you are in a new document, you can go to File > Move to choose a location where you would like it to live. You can also click the folder icon to the right of the document name to reveal the same options.
What About Shared With Me?
Many people feel the need to organize their Shared With Me files. They can’t stand the clutter and chaos they see every time they go there.
However, the option to organize Shared With Me does not exist.
These files cannot be organized like My Drive, and they will stay here until you manually remove them. If this is frustrating for you, try thinking about Shared With Me as a filter for your Drive. It shows a subsection of your files, the ones that have been shared with you.
If you would like to include one of these files in My Drive, you can right-click on it and use Drive Shortcuts to add it to a folder of your choice. It doesn’t move it out of Shared With Me, but it creates a shortcut that you can save anywhere you want.
If you decide to remove files from your Shared With Me, right-click on the file and select, Remove. This does not delete the file, but it will remove it from Shared With Me. The original owner, and any other collaborators will still have access to the file because you can’t delete a file you don’t own.

