
This versatile notetaking app has more than a few tricks up its sleeve.

I love a good notetaking app. Not everyone uses one, but they should. Especially when they are as versatile as something like Google Keep.
In the productivity world, Keep has become popular with practitioners of Getting Things Done (GTD). Why? It’s perfect for reference materials. Notes, receipts, images, websites, and anything else that doesn’t have a place in your organizational system can be safely filed away in Google Keep.
Let’s take a look at what that looks like in practice.
What to Save in Google Keep
Think of Google Keep as your catch-all bucket for a true GTD system. It’s like a cross between Pinterest, Evernote, and Pocket.
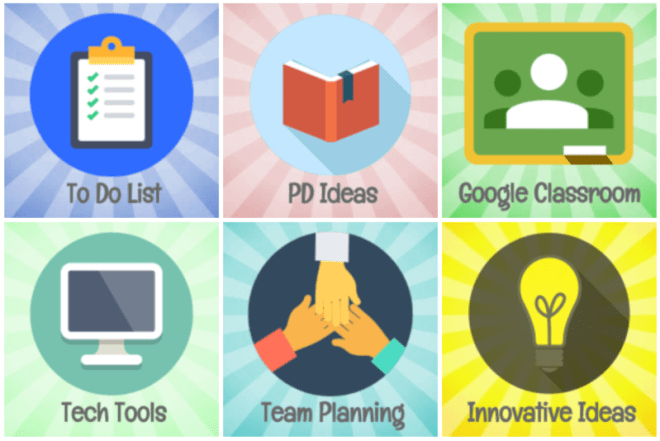
You can save ideas, websites, recipes, project materials, and notes from all your meetings at work. It’s also collaborative, so you can share these things with friends and coworkers.
If you enjoy making lists, Keep is great for that too. You can create a list of all the things you need to take with you on vacation and use it year after year to avoid forgetting anything.
How to Add Things to Keep
There are many ways to add things to Google Keep. Here is a quick summary of the ones you need to know about:
- On a laptop, go to keep.google.com (or note.new) to create a new note. You can add text, make a list, create a drawing, or upload an image.
- If you install the Keep browser extension, you can add text, images, and URLs directly from a website.
- The Keep mobile apps are another useful way to add notes. They have the added benefit of recording an audio note or capturing an image by using your phone’s camera.
- If you have an Apple Watch, you can dictate a text note without using your phone. All you need to do is open the Keep watch app, press hard on the screen, and choose “Text note.”
How to Organize Google Keep
In his book, Getting Things Done: The Art of Stress-Free Productivity, David Allen suggests that reference materials should be filed in physical folders that are organized by the letters of the alphabet.
Unfortunately, that idea doesn’t always translate very well to the digital world. A better option for Google Keep users are tags, or as Google calls them, labels.
Google Keep lets you add as many labels as you want, but it’s best not to have too many. It will be easier to filter through your notes with a more disciplined use of labels.
You can add a label in Google Keep via the toolbar on any note or by typing a hashtag before the tag you want to create, e.g. #receipts. All labels are listed in the sidebar on the left of your screen. Clicking a label name will filter your notes so that you only see notes that have been tagged with that label.

To reorder your notes, drag and drop them into the order that you need. If you want to select more than one note, hover your cursor over a note and check the box to select multiple notes at once. This lets you drag and drop multiple notes into the order you need.
Still not happy with the layout of your notes? You can switch between list view and grid view by clicking the button next to the gear icon in the top right of your screen.

For a more visual approach, you can color-code your notes by clicking the paint palette icon. You can use colored notes to help find notes at a glance. For instance, you might color all your work notes green while your notes for home are blue.
Underneath the colors, there is also a selection of background images. However, I don’t use these often because they tend to make your typed text a little harder to read.

How to Find Notes in Google Keep
The built-in search bar will quickly search through all the notes you have in Google Keep. In addition to searching your text notes, the search function will also look for your keywords in images and handwritten notes.
If you use the same notes repeatedly, you can pin important notes by clicking the pin icon in the top right-hand corner of a note. Pinned notes are placed above the other notes so that you can quickly find them.
For added impact, you can add a header image. Check out Merideth Aker’s blog post on Organizing Google Keep With Headers. She created a collection of great templates that you can customize use yourself.
The header image sits above the text of your note and serves as a quick and easy way to find the note you are looking for. Pair these with your pinned tabs, and you have a great way to access your most-used notes.
If you enjoy the colored note options in Keep, try the Category Tabs for Google Keep browser extension. Once installed, it lets you filter your notes by color, just like you can filter notes by labels. This is another useful way to find the notes that you are looking for.
5 Top Tips for Using Google Keep
To finish up, here are some lesser-known features of Google Keep:
- Annotate Images: If you open a note with an image in Google Chrome, you can double-click on the picture to reveal a pen tool in the top right-hand corner of the screen. Click on the pen tool to annotate your image.
- Extract text from an image: If you have a note with a picture and the image includes text, you can click the three-dot menu in your note and choose “Grab image text.” Keep will then use OCR to paste the text from your image into your note.
- Bullet Points: Most people know how to create a list with Google Keep, but bullet points are not as obvious. To create a bulleted list, start a new line with an asterisk, then hit space, type your bullet item, and then press Return or Enter on your keyboard.
- Note to Self: If you use the Google Assistant on your phone, you can say, “Okay, Google. Note to self,” and then speak a note to your phone. The note will be saved to Google Keep in text and audio format.
- Archive to Clean Up: One way to tidy up your Keep is to label notes and then archive them. This doesn’t delete them; it just hides them. Notes no longer show up on the home page when archived, but you can still access them by clicking the relevant label in the sidebar or by searching for them. Check it out in the video below.
If you enjoy reading articles like this and want to support me as a writer, consider signing up to become a Medium member. It’s just $5 a month and, it gives you unlimited access to everything on Medium. If you sign up using my link, I’ll earn a small commission at no additional cost to you.
https://jonathanwylie.medium.com/membership
A version of this article was originally published at https://jonathanwylie.com on November 22, 2021.


